
Last updated October 17, 2026
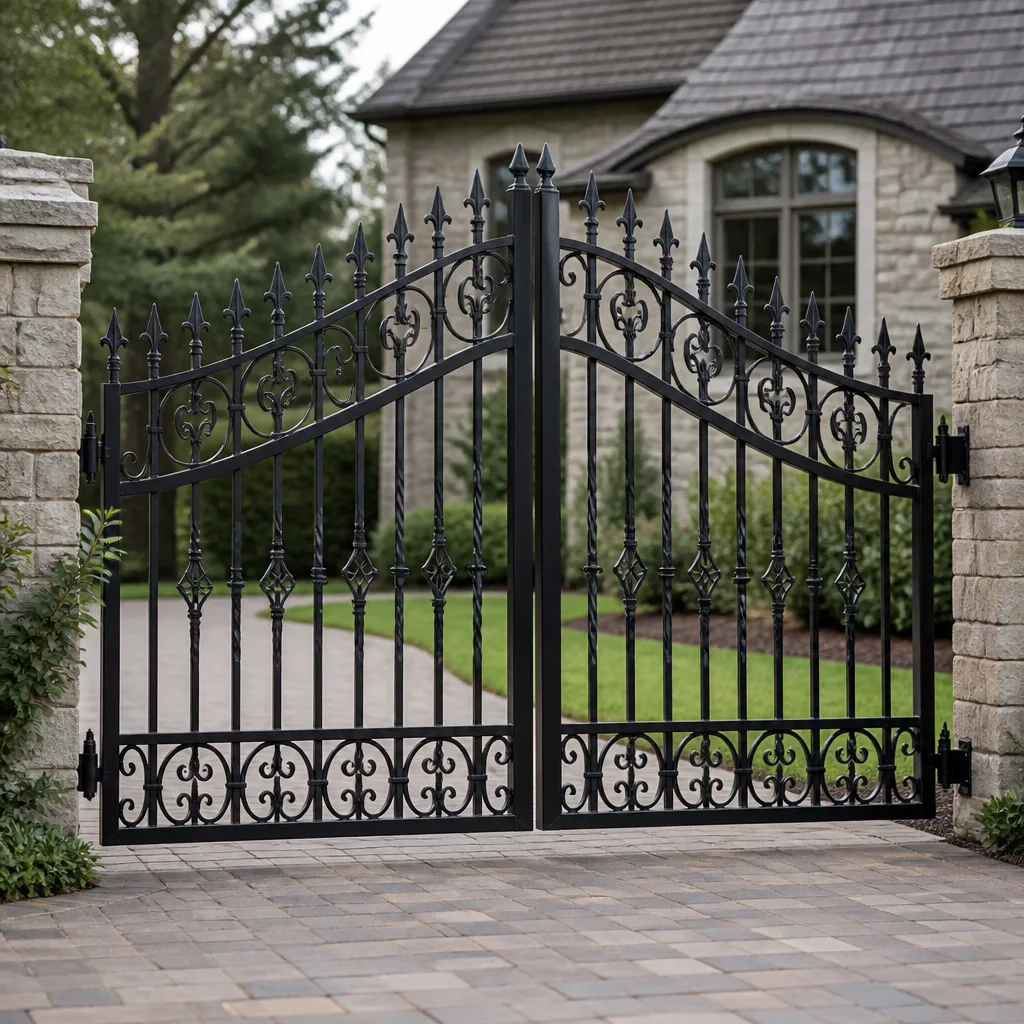 Wrought iron
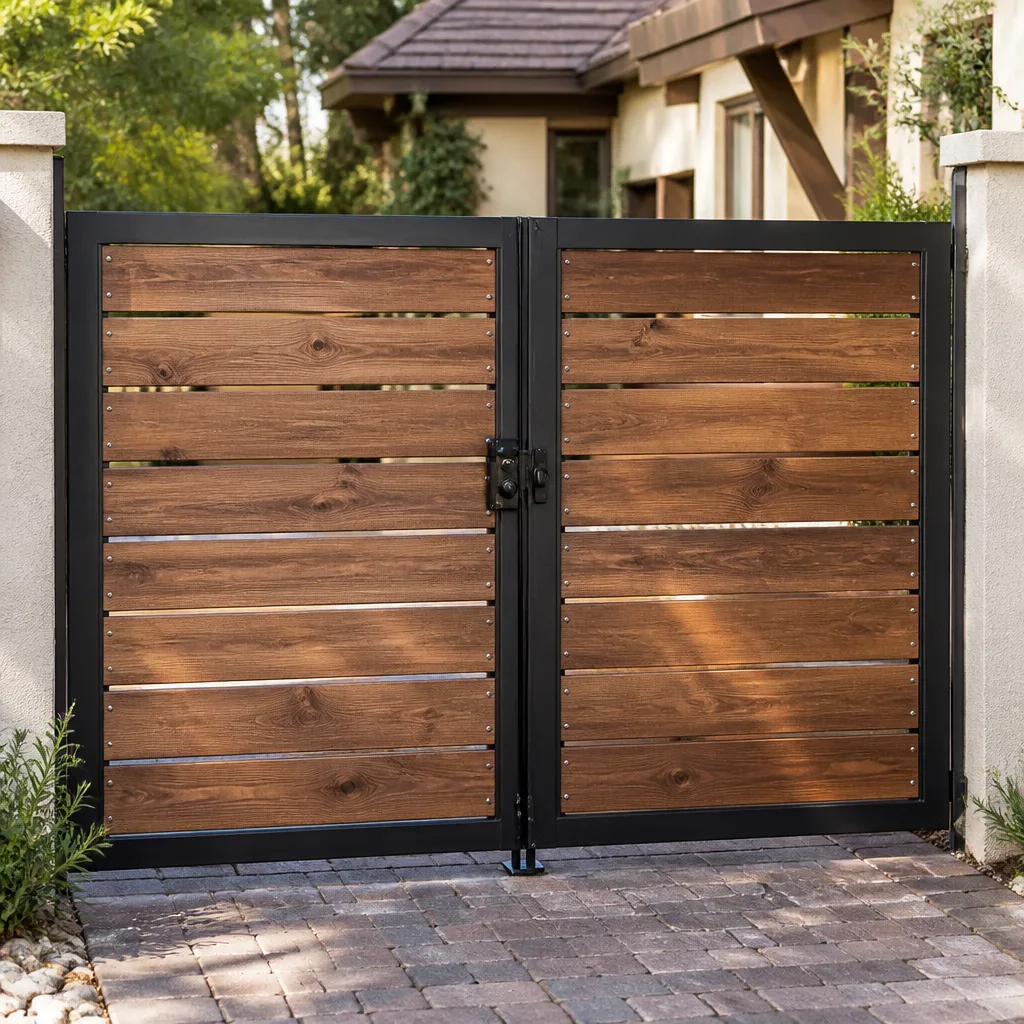 Wood & steel frame
 Farm & ranch
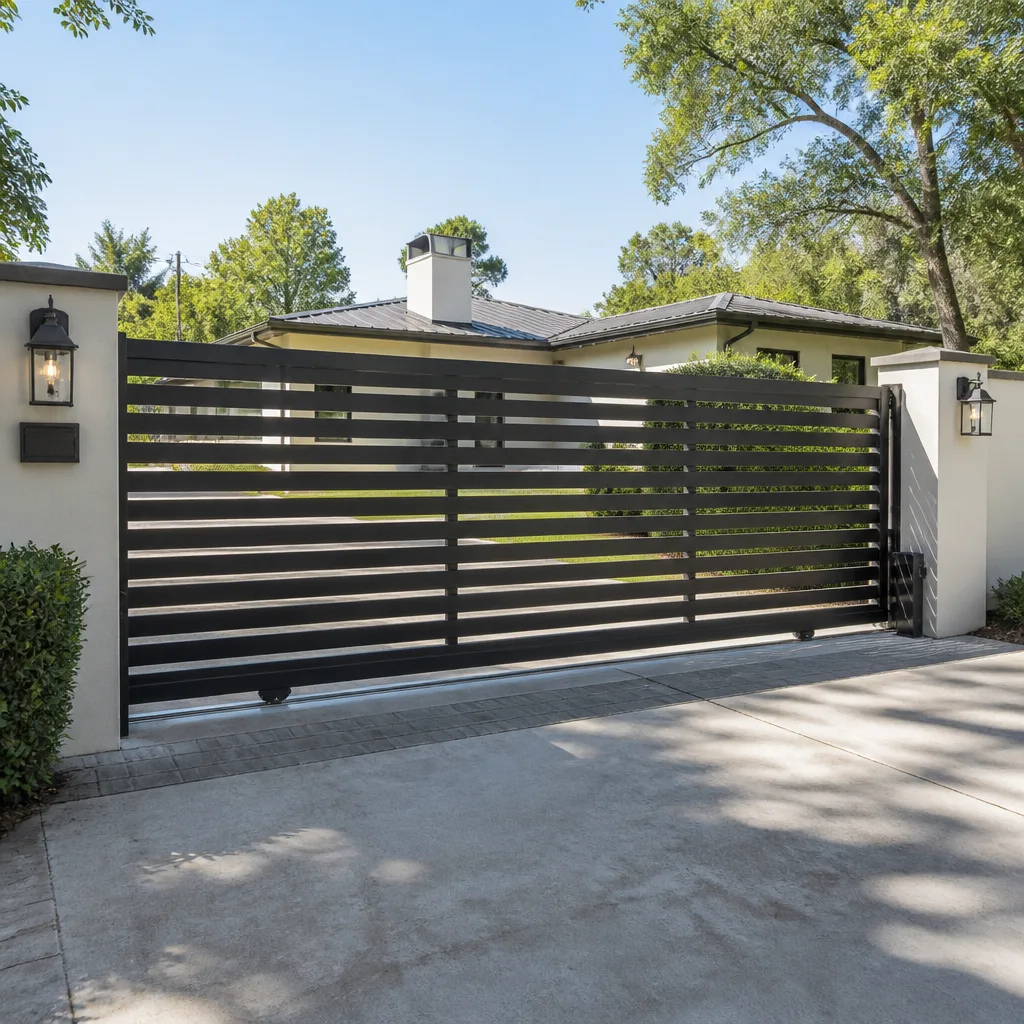 Sliding driveway gates
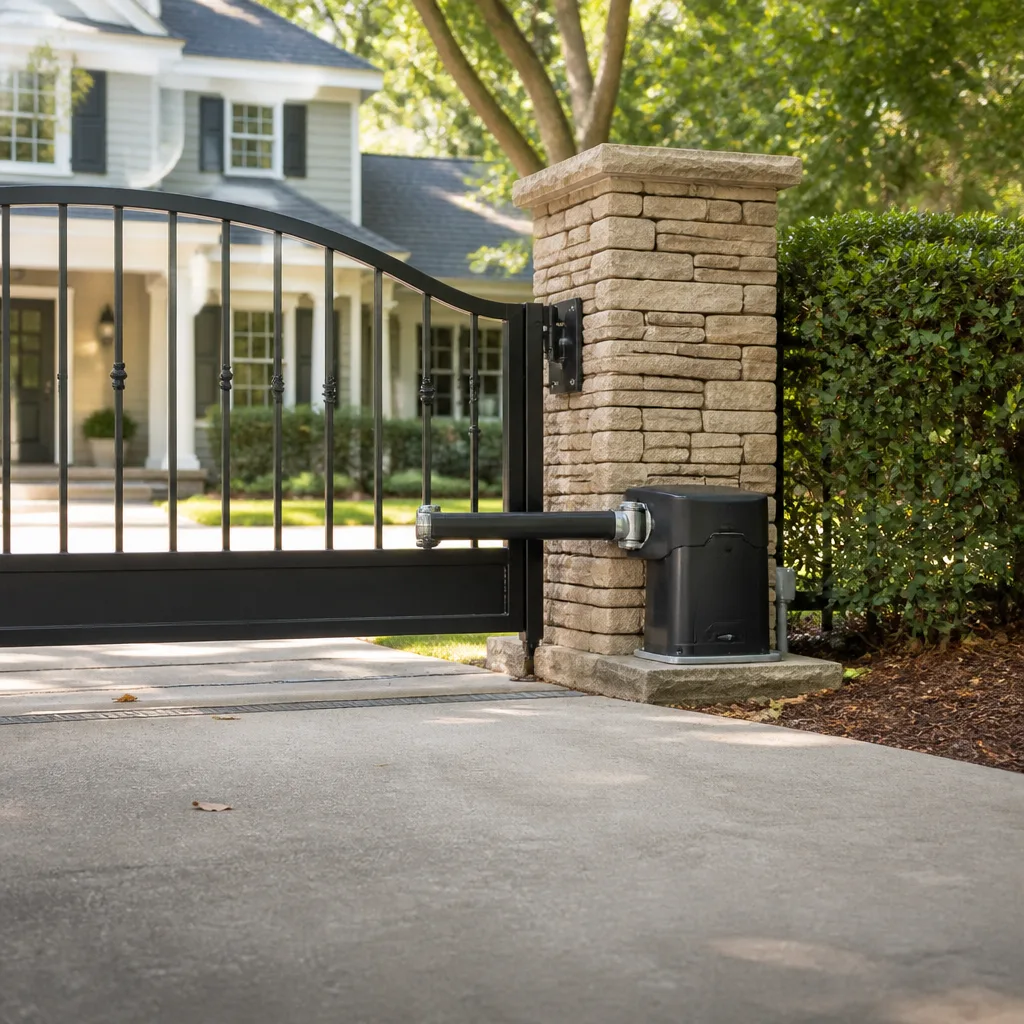 LiftMaster operators
Free on-site gate assessment - hinges, posts, and your LiftMaster or Nice gate operator checked before anything is quoted
The assessment is free and the quote is the invoice.
Get your free estimateGate Repair Warning Signs: A Houston Homeowner’s Reference Guide
Most Houston gates don’t fail suddenly. They telegraph their decline for six to eight weeks beforehand, but the signals are subtle enough that homeowners log them as quirks rather than symptoms. A gate that hesitates for exactly two seconds before opening isn’t a software glitch. It’s a low-torque symptom that means the operator motor is drawing excess current to overcome mechanical resistance, and without intervention, that motor will burn out within 60 to 90 operating cycles. This guide teaches you to read what’s visible on the outside of your gate as a window into what’s failing on the inside, before a $90 fix becomes a $1,400 replacement.
Quick Answer
The most common gate repair warning signs in Houston are a gate that sags or scrapes at the latch end, visible rust streaks at screw or bolt locations, grinding or clicking sounds during operation, an electric gate that opens slowly or partially, and a gate post that tilts uniformly. If you notice any of these, the underlying mechanical issue is already progressing, and addressing it within two to three weeks typically prevents a full failure that costs three to five times more to repair.
Styles & brands we work with
Table of Contents
- How to Tell a Hinge Failure from a Post Failure
- What Gate Noises Actually Mean: Grinding, Clicking, and That Dull Thud
- Rust Streaks at Screw Locations: The Fastener Corrosion Warning
- Electric Gate Warning Signs: Slow, Partial, and No-Open
- How to Photograph Warning Signs for an Accurate Phone Diagnosis
- Why Houston’s Climate Accelerates Gate Wear
- Common Mistakes to Avoid
- When to Call a Professional
- Frequently Asked Questions
How to Tell a Hinge Failure from a Post Failure
Two different structural problems look similar at first glance, but they require different repairs and very different budgets. Here’s the distinction that matters.
A hinge failure warning looks like this: the gate drops at the latch end, the top gap between the gate and the post is wider than the bottom gap, and the gate scrapes the ground or the latch no longer lines up with the strike plate. The post itself is still vertical. Only the gate leaf is sagging because the hinge pin, hinge plate, or the welded mount has worn or loosened. In Houston, hinge failures are common on older steel gates where the hinge bearings have been washed clean of grease by heavy spring rains and never re-lubricated. The result is metal-on-metal friction that elongates the hinge barrel and lets the gate drop, usually by a quarter-inch to a half-inch before anyone notices.
A post failure warning is different. In this case, the entire gate plane is tilted, not just the latch end. The gap between the gate and the post is uniform from top to bottom, but the whole assembly leans. When you look at the post from the side, it’s no longer plumb. This means the post footing is failing below ground, often because the original concrete footer was poured too shallow for Houston’s expansive clay soil, or because water has been pooling at the base and slowly eroding the footing. A hinge repair might cost a few hundred dollars. A post reset requires excavation, new concrete, and a day of curing before the gate can be rehung, which is why catching the difference early saves real money.
Here’s a simple test you can do in 30 seconds:
- Stand at the latch end and look across the top edge of the gate. If the top edge slopes down toward you but the post stays vertical, you have a hinge failure warning.
- Now step back and look at the post itself. If the post leans with the gate, even slightly, you have a post failure warning.
- Push gently on the latch end. A hinge-worn gate will lift slightly at the latch and drop back with a small knock. A post-tilted gate won’t move independently because the whole post is moving with it.
We see both patterns across Gate Repair in Houston jobs regularly, and the fix is very different depending on which one you’re dealing with. Identifying it correctly over the phone means we arrive with the right parts on the first trip.
What Gate Noises Actually Mean: Grinding, Clicking, and That Dull Thud
Sound is the most underused diagnostic tool in gate repair. Each specific sound points to a specific mechanical component, and learning the vocabulary saves you from guessing.
Grinding is the sound of metal surfaces moving against each other without enough lubrication, or with contamination between them. On a manual gate, grinding at the hinge means the hinge pin or barrel has lost its grease and possibly scored the metal. On an electric gate with a BFT or LiftMaster operator, grinding from the operator housing points to a failing gear inside the drive unit. That gear is stripping teeth under load, and once that starts, the damage compounds quickly because metal fragments circulate through the gearbox and chew up the remaining teeth. A grinding sound that has persisted for more than a week means the gear will typically last another two to three weeks before the gate stops moving entirely.
Clicking is different. A sharp, repeating click from an electric gate operator usually points to an electrical problem, not a mechanical one. It can be a relay engaging and disengaging because the control board is receiving an inconsistent signal from a limit switch or a safety edge. On a Linear operator, a rapid clicking without motor movement often means the capacitor is no longer holding a charge sufficient to start the motor. That’s a $40 to $80 part, but it will fail completely at the worst possible moment, usually when the gate is half-open and blocking your driveway.
A dull thud on reversal is the third distinct sound pattern. When an electric gate reaches its open or closed limit and reverses with a soft, heavy thud instead of a clean stop, the limit switch has drifted out of adjustment. The gate thinks it has farther to travel than it actually does, so it hits the physical stop and the controller trips a safety reverse. This is common on Viking and Ghost Controls operators after years of use, and it’s adjustable, but it should be corrected before the repeated impact loosens the drive chain or damages the stop hardware.
If you can record ten seconds of the sound with your phone and describe what you hear over the phone, a technician can often identify the failing component before they even arrive.
Rust Streaks at Screw Locations: The Fastener Corrosion Warning
Homeowners typically dismiss rust on a gate as cosmetic, especially in Houston where humidity and salt air from the Gulf mean surface oxidation is common on any unpainted metal. But there’s a specific rust pattern that means something entirely different: rust streaks running down from screw or bolt locations.
Surface rust spreads broadly and evenly across an exposed area. It’s ugly but usually harmless for years. Fastener rust is not that. When you see a rust streak starting at a specific screw head or bolt and running downward in a line, the fastener itself is corroding inside the frame, and the rust staining the paint is the corrosion product being carried out and down by moisture. This means the fastener is losing its thread engagement and the structural connection it provides is weakening.
On a wood gate, rusting screws eventually loosen to the point that the hinges or latch plate pull free under load. On steel or aluminum gates, rusting fasteners can seize in place, and when they do, even a simple hardware replacement becomes a job that requires drilling out the old fastener and re-tapping the hole. The timeline from first visible streak to fastener failure is usually four to eight weeks in Houston’s humidity, faster if the gate faces south and gets daily sun-driven thermal expansion pulling against the corroded threads.
What you’re looking for:
- Rust streaks originating at a screw or bolt head, especially on hinges, latch plates, and drop rods
- Bubbling paint around fastener locations, which indicates corrosion underneath the coating
- Fasteners that have visible white or green powder around them on aluminum gates, which is aluminum oxide doing the same job as rust on steel
- A rust streak at the bottom hinge that corresponds with a gate that’s starting to sag at the latch end
In our experience, one of the most common Houston gate repairs is a hinge fastener replacement that could have been a 15-minute fix if it had been caught at the rust-streak stage, instead of a full Gate Installation in Houston because the gate tore off its hinges.
Electric Gate Warning Signs: Slow, Partial, and No-Open
Electric gate failures present three distinct patterns, and each one points to a different system. Learning the difference is the difference between a $150 limit-switch adjustment and a $900 control-board replacement.
A slow open is almost always mechanical resistance. The operator motor is working harder than it should because something in the chain, hinge, or track is binding. It might be a rusted hinge, a warped gate leaf from a summer storm, or debris built up in the track. On a BFT or Linear operator, the motor draws more current to compensate, and that excess current generates heat. Run long enough, and the motor’s thermal overload will trip, or the windings will burn out completely. A slow-opening gate is a low-torque symptom, and it’s a mechanical warning, not an electrical one. The fix is often as simple as lubricating hinges or clearing track debris.
A partial open points to limit switch drift. The gate opens partway and stops because the controller believes it has reached the full-open limit. Over years of operation, the limit switch contacts wear and their physical position shifts slightly. On a Viking operator, this is typically a mechanical limit assembly that can be adjusted. On newer Ghost Controls units, it’s often a magnetic limit sensor that has come loose from its mount. A partial open that’s consistent (always stops at the same wrong point) is almost always a limit switch issue. A partial open that varies randomly points to a control board that’s misreading the limit signal.
A no-open is the third pattern and it’s the most ambiguous. It means either a power issue, a failed capacitor, a blown control board, or a safety sensor that’s preventing operation. Here’s the quick diagnostic order:
- Check that the operator’s power indicating light is on. If it’s dark, check the breaker and any GFCI outlet on the circuit.
- Check the safety sensor or safety edge. If a leaf or dirt is blocking the photo eye, or if a pressure edge is stuck, many operators will refuse to run. This is the most common cause of a no-open that homeowners can resolve without parts.
- Listen for a hum when the remote is pressed. A hum with no movement means the capacitor has failed or the motor is stalled. A complete silence means the control board may not be receiving the signal. If a wired keypad works but a remote doesn’t, the issue is in the receiver rather than the operator.
For electric gate issues, our team is factory-trained on the brands families actually have installed in Houston, and every Electric Gate Repair in Houston call starts with these symptom questions so we can bring the right board, capacitor, or limit part on the first visit.
How to Photograph Warning Signs for an Accurate Phone Diagnosis
A good set of photos turns a vague phone description into a precise diagnosis. We’ve learned over years of Houston gate service calls that the difference between a successful phone estimate and a guess comes down to what’s visible in the images. Here’s exactly how to take the five photos that help most.
- The full gate, standing back. One photo from directly in front, one from directly behind. Stand far enough back to capture the entire gate and both posts in one frame. This shows the overall posture of the gate: whether it’s sagging at the latch, tilting uniformly, or leaning toward one post.
- A close-up of the top hinge and the bottom hinge, from the side. These photos show rust at the hinge barrel, fastener rusting, and any visible gap between the hinge plate and the gate or post. Take both hinge photos from the same side and angle so they can be compared.
- A photo of the latch area, with the gate closed, from about two feet away. This shows the alignment between the latch and the strike plate, and whether the gate has dropped enough that the latch can no longer engage.
- A photo of the gap between the gate and the post at the top and bottom, from the latch end. These two photos, compared, show whether the drop is worse at one end, which tells us if we’re dealing with hinge wear or post movement.
- For an electric gate, a close-up of the operator unit showing the brand name, the model number, and the indicator light. This lets us know what equipment we’re working with and whether the light pattern indicates a fault code. A short video of ten seconds or less, showing the gate cycling through its full motion, is even better.
You don’t need a fancy camera. A current smartphone with good light, no flash, and the gate not moving is all it takes. Direct morning or late afternoon light shows rust and cracking better than midday light, which tends to wash out texture. When you send these photos before a visit, you’ll get a much more accurate price and we can often tell you what’s wrong before we even put the truck in drive.
Why Houston’s Climate Accelerates Gate Wear
Houston doesn’t just age gates, it stresses them in specific, predictable ways. Understanding the local context helps you know what to watch for and when to look.
The first factor is humidity. Houston averages over 70 percent relative humidity year-round, which means rust never really stops. Gates in drier climates rust seasonally. Gates in Houston rust continuously, especially where the coating has been scratched or where fasteners penetrate the finish. Every screw hole is a moisture entry point, and in Houston, they all eventually show rust streaks unless they were sealed during installation.
The second factor is the Gulf’s occasional salt air. Homes closer to Galveston Bay, including the Clear Lake, Seabrook, and Kemah areas, get salt content in the air that accelerates steel corrosion measurably compared to inland areas like Sugar Land or Cypress. A gate in Seabrook may need hinge replacement two to three years earlier than the same gate in Katy, even if both were installed the same week.
The third factor is soil movement. Houston sits on expansive clay that swells when wet and shrinks when dry. A gate post set in a concrete footer that’s too shallow will heave and tilt as the soil cycles through wet and dry seasons. This is why post failures are so common in Houston, and why the fix is always a deeper footer with proper drainage, not just re-concreting the old hole.
And the fourth factor is storm season. Wind-driven rain gets into hinge bearings, operator housings, and control boxes in ways that normal rain doesn’t. After a severe storm system, it’s worth checking your gate’s movement and listening for any new grinding or clicking. Catching storm-induced wear early is cheaper than dealing with the failure a month later.
If you’re in Houston and your gate is showing any of the warning signs described above, our team at Latch and Post Gate Repair Houston home can evaluate it in person and give you a written price before any work begins.
Common Mistakes to Avoid
- Ignoring a gate that scrapes because “it still works.” A scraping gate is already in hinge failure, and every operating cycle worsens the damage. What starts as a hinge repair becomes a gate leaf replacement if the frame has warped from months of dragging. In Houston, the window between scrape and structural damage is often only four to six weeks.
- Lubricating without cleaning first. Spraying lubricant over dirty hinges drives grit deeper into the bearing surface. The right sequence is to clean the hinge area of dirt and old grease, then lubricate with a product appropriate for the material. On electric gates, never use a petroleum lubricant on nylon gears.
- Trying to adjust an electric gate’s limit switches without reading the operator manual. Limit switches on units from BFT, Linear, and Viking are not interchangeable, and adjusting the wrong one can cause the gate to run past its stop and damage the hardware. The repair is often worse than the original problem.
- Welding a broken hinge without addressing the cause. Weld repairs are common in Houston and often fail because the underlying alignment issue or bearing wear wasn’t corrected first. If the hinge broke from repeated stress, the new weld must be paired with an alignment correction or it will fatigue again.
- Assuming a no-open means the operator is dead. More often than not, it’s a safety sensor, a tripped GFCI, or a failed transmitter. Replacing the whole operator without checking the simple things first is a common and expensive mistake. Run through the power and sensor checklist before declaring the operator dead.
- Waiting until the gate fails completely before calling. The most expensive repairs we do in Houston are the ones where the warning signs were visible for two months and the gate finally failed at the worst possible moment. A gate that’s blocking a driveway or stuck half-open is an emergency call with emergency pricing. A gate with a visible warning sign is a scheduled repair with predictable pricing.
When to Call a Professional
Some gate issues are safe and reasonable to address on your own: cleaning track debris, checking photo-eye alignment, or noting rust patterns. But there are specific situations where continued DIY effort makes the problem worse, and a trained eye saves you money in the long run. Call a professional if your gate has dropped enough that the latch no longer engages, if you see rust streaks at the hinge fasteners with visible movement when you push the gate, if the post is out of plumb, if the operator motor is grinding or clicking and not responding to the remote, or if the gate is stuck in a position that blocks your driveway. Any electric gate repair that involves the control board, capacitor, or limit switches should be handled by someone factory-trained on the specific brand you own. Latch and Post Gate Repair Houston offers free estimates in Houston, call (361) 256-5955 to have one of our technicians take a look. We’ll give you a written price before any work begins, and every job is covered by our 365-Day Done Right Promise.
Frequently Asked Questions
Most gate repairs in Houston run between $180 and $750, depending on what’s failed. A simple hinge or latch replacement typically costs $180 to $340, an electric gate limit switch adjustment or replacement runs $150 to $400, and a control board replacement usually runs $400 to $900. The price is quoted and agreed upon in writing before any work starts, so you’ll never see a surprise number on the invoice. Call (361) 256-5955 for an exact quote on your specific gate, and your estimate is free.
We answer every call with a live person, 24 hours a day, seven days a week, including weekends and holidays, and many gate repair jobs in Houston can be completed the same day you call. The fastest way to get an accurate answer is to describe what you’re seeing and hearing, or send photos, and we’ll tell you over the phone whether we can fit you in today or schedule the soonest available visit. Call (361) 256-5955 and we’ll give you a straight answer.
If the post is leaning but the concrete footer is intact, the post can often be reset by excavating around the existing footing, re-plumbing the post, and pouring new concrete. If the post itself is rusted through at the base, cracked, or the footer has broken apart, the post needs to be replaced. The amount of visible rust at the base and whether the post moves when you push it are the two key indicators, and a technician can tell you which applies to your situation during a free estimate.
A full gate installation includes removing the old gate and hardware, setting new posts or preparing existing structural posts, hanging the new gate with new hinges and latch hardware, and adjusting everything for smooth operation. For electric gates, it also includes mounting the operator, running control wiring, setting limit switches, and testing the safety sensors. We quote the complete job as one written price before any work begins, and we clean up with drop cloths and shoe covers throughout the process.
Yes, we handle the full electrical scope on electric gate installations and electric gate repair in Houston, including running the power supply from the house or panel to the operator, wiring the control board, installing safety edges and photo-eye sensors, and setting the limit switches. All of it is included in the written quote you’ll receive before the work starts, and we test the full cycle before we show you the completed job.
A squeak that returns shortly after lubrication usually means the hinge bearing or pin is already worn beyond the point where lubricant can help. The grease masks the sound temporarily, but the metal surfaces are no longer round or smooth against each other, and the squeak returns as soon as the fresh lubricant spreads thin. At that stage, the hinge or the hinge pin needs to be replaced rather than re-lubricated. Call (361) 256-5955 and describe what you’re hearing, and we’ll tell you whether a hinge replacement is likely or if a proper cleaning and lubrication will solve it.
Most gate repair visits in Houston take between one and three hours on site, depending on the scope of the work. A simple hinge or latch replacement is usually under an hour, while an electric gate board replacement or a post reset takes longer. We’ll give you a time estimate along with your written price, and our technicians work quietly and clean up thoroughly before they leave, with a photo of the cleanup if you’d like one.
The Bottom Line
Your gate will almost always tell you it’s failing weeks before it actually does. A sagging latch end points to hinge wear. A uniformly tilted gate points to a post problem. Rust streaks at fasteners are corrosion warnings, not cosmetic blemishes. Grinding, clicking, and thudding each point to a different component, and electric gates signal their troubles through slow opens, partial opens, and no-opens. In Houston’s humidity and expansive soil, these warnings progress faster than they would elsewhere, so acting on them within two to three weeks of noticing them is the difference between a modest repair and a costly replacement. When you’re ready to have your gate looked at, Latch and Post Gate Repair Houston is a phone call away at (361) 256-5955, with a written price before any work begins and the 365-Day Done Right Promise behind every job.
Written by Cody Beckman, Owner at Latch and Post Gate Repair Houston, serving Houston since 2009.
See the difference
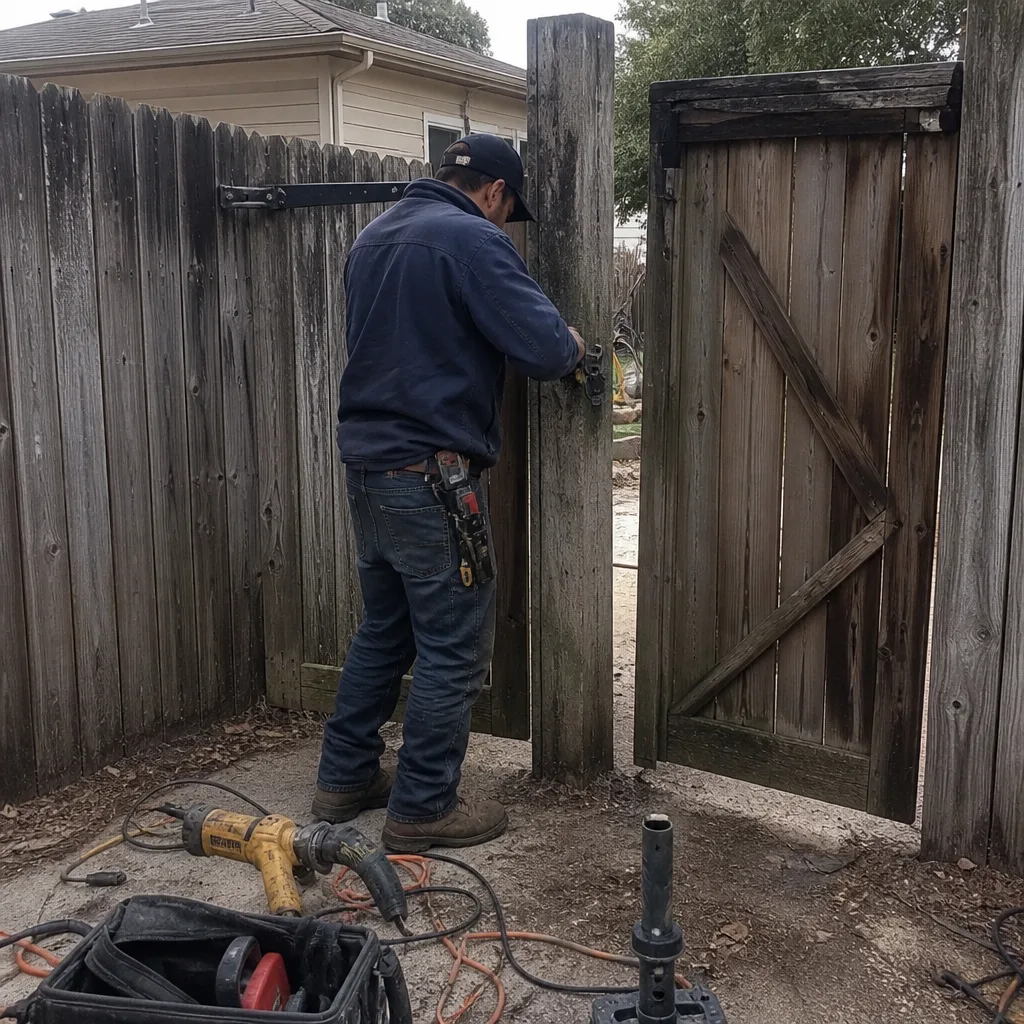 Before
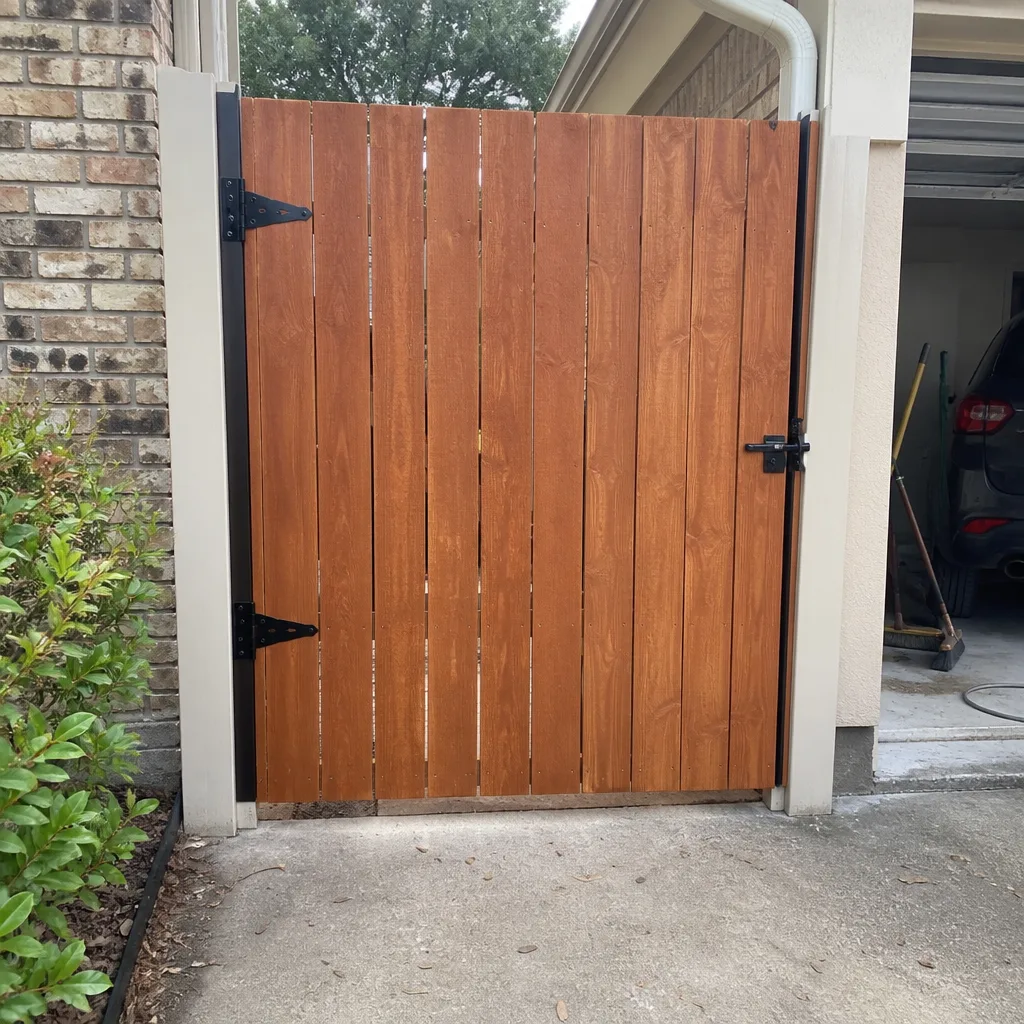 After
After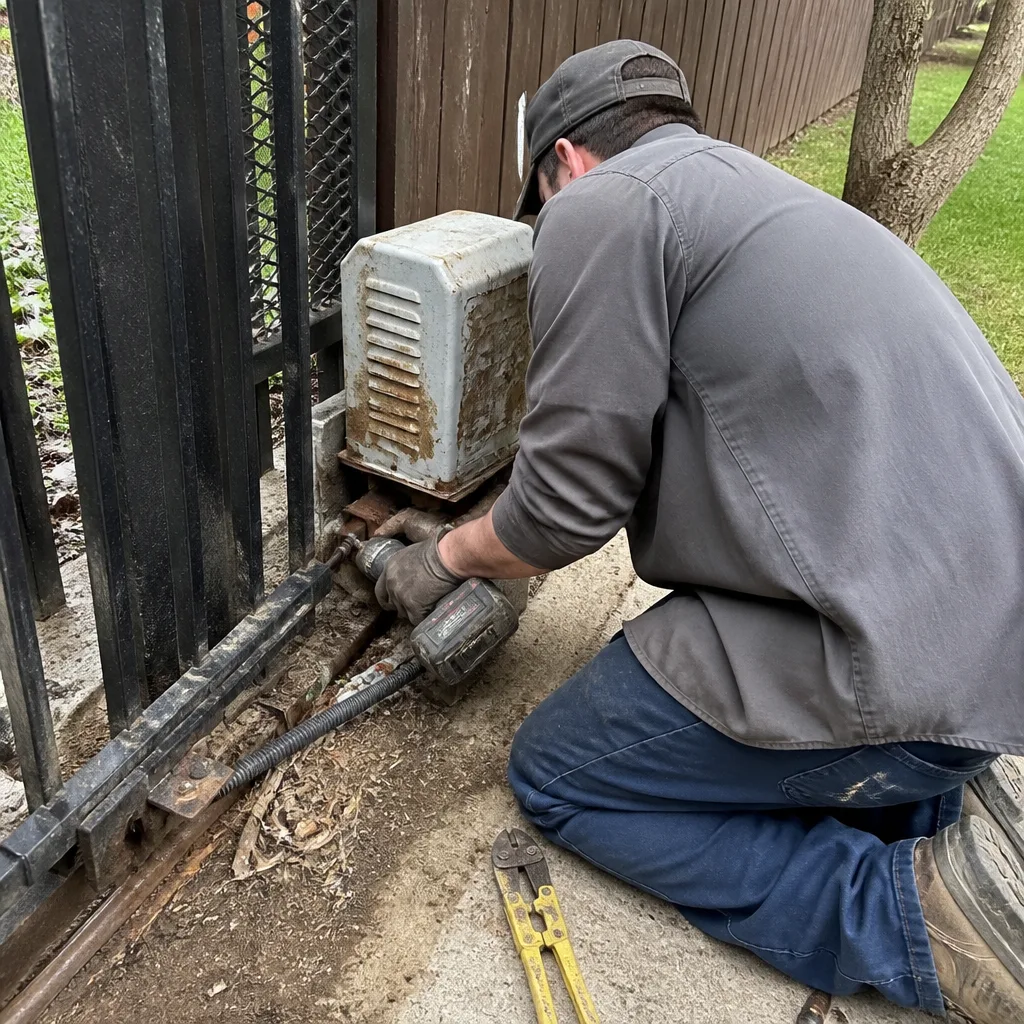 Before
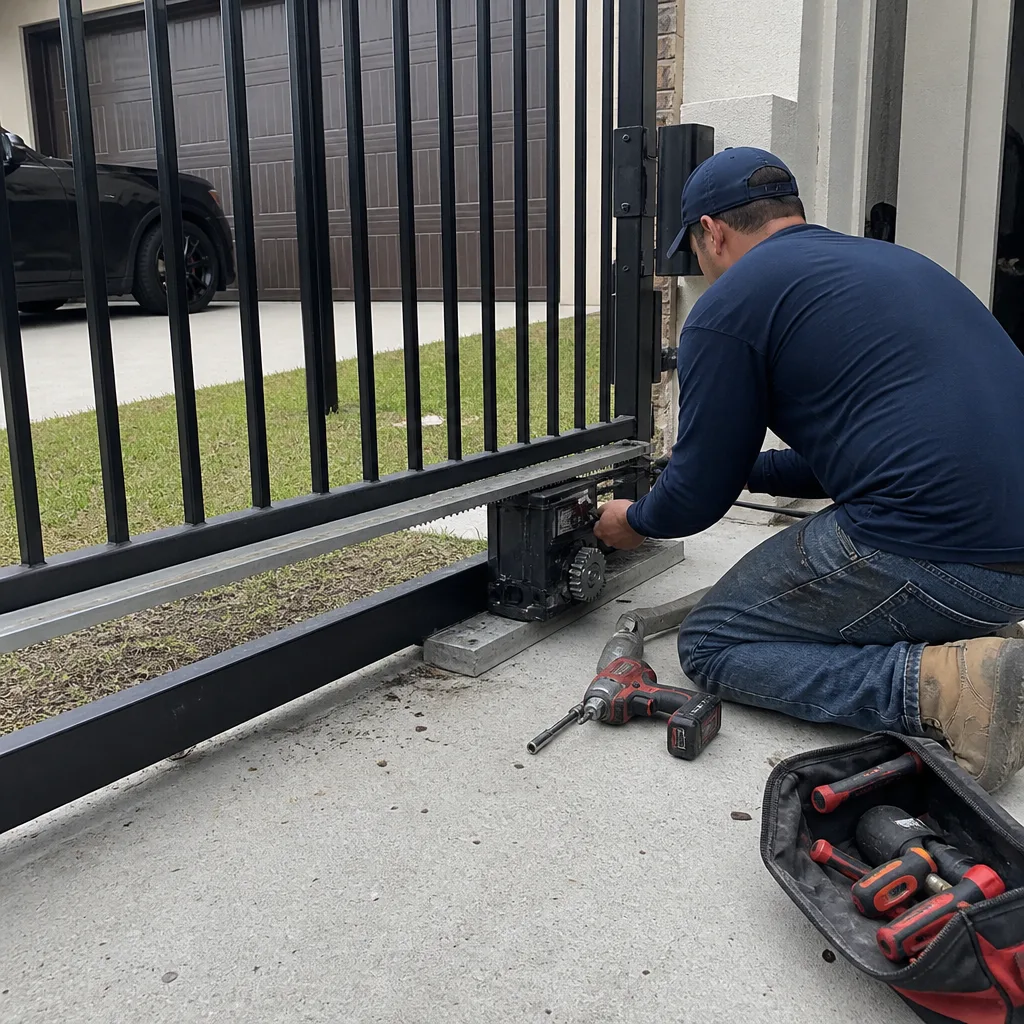 After
After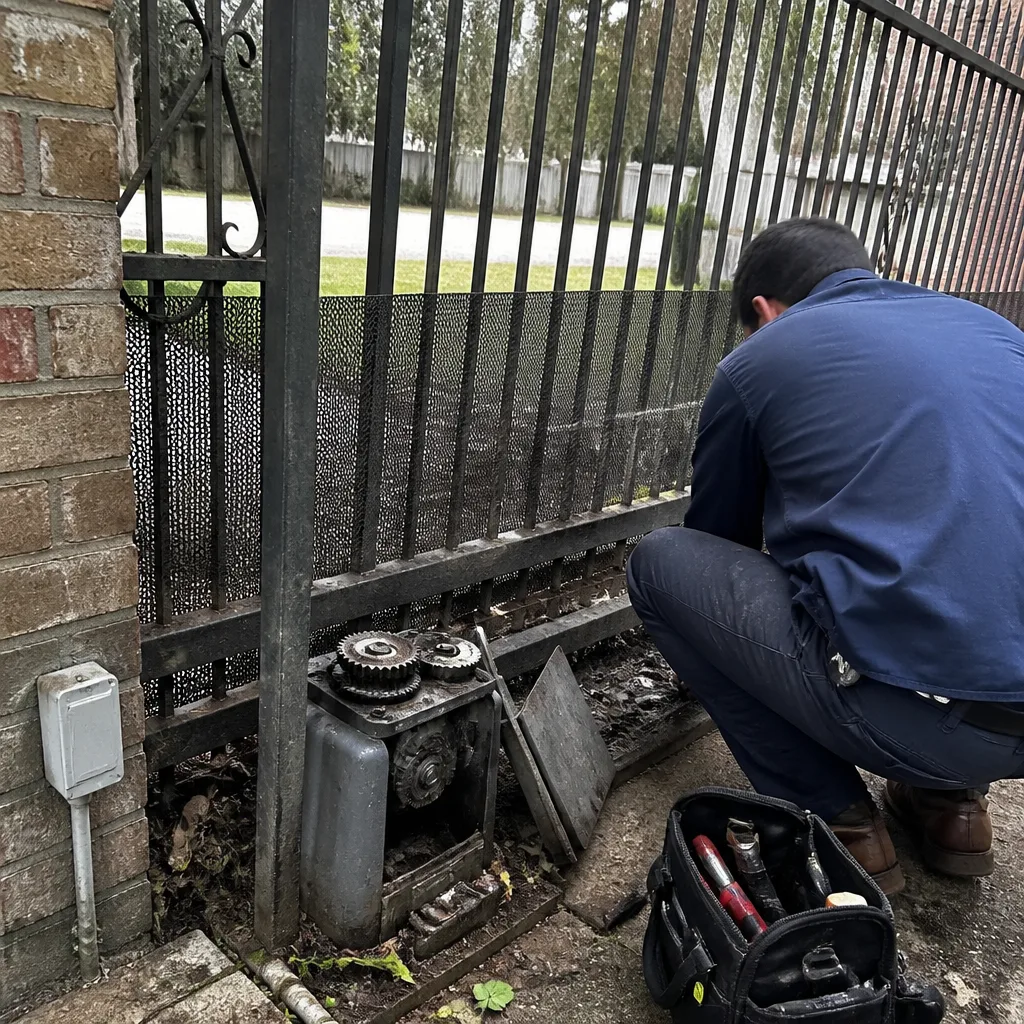 Before
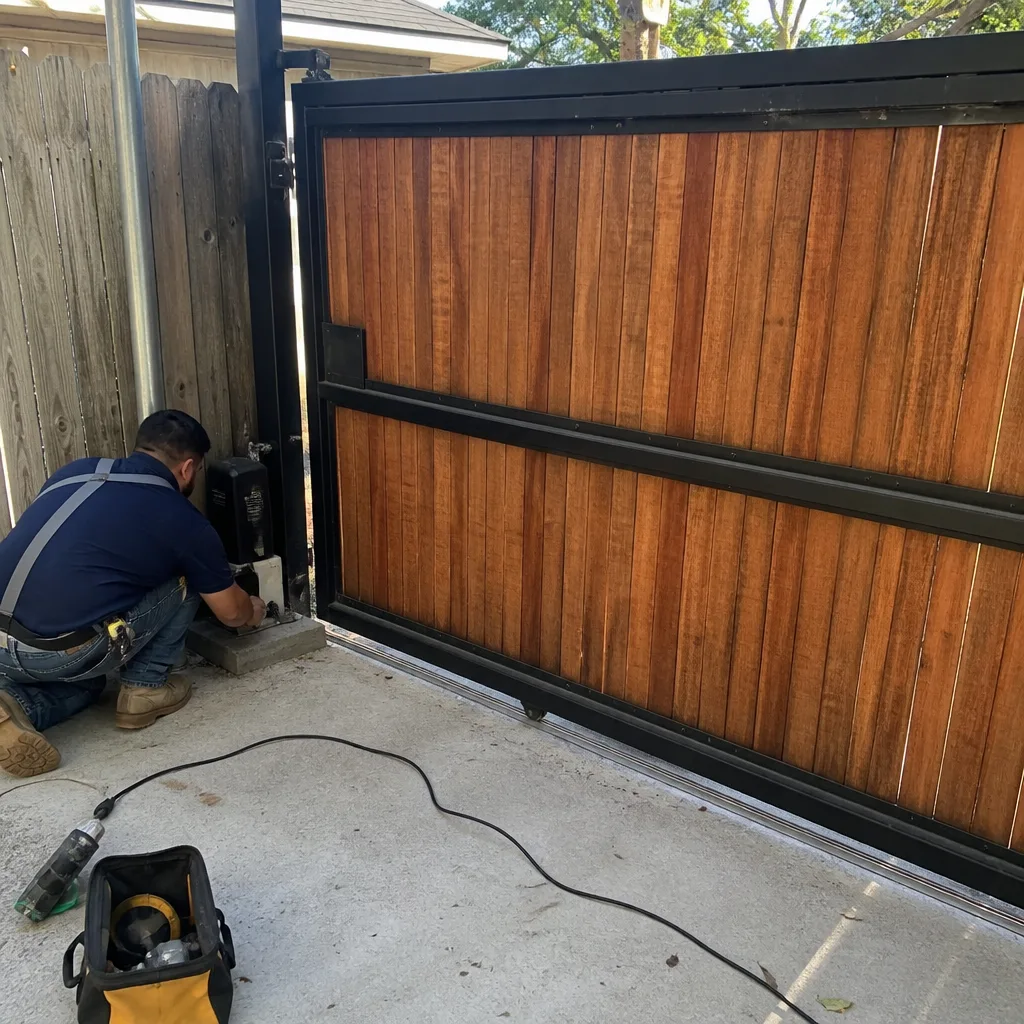 After
After