
Last updated October 17, 2026
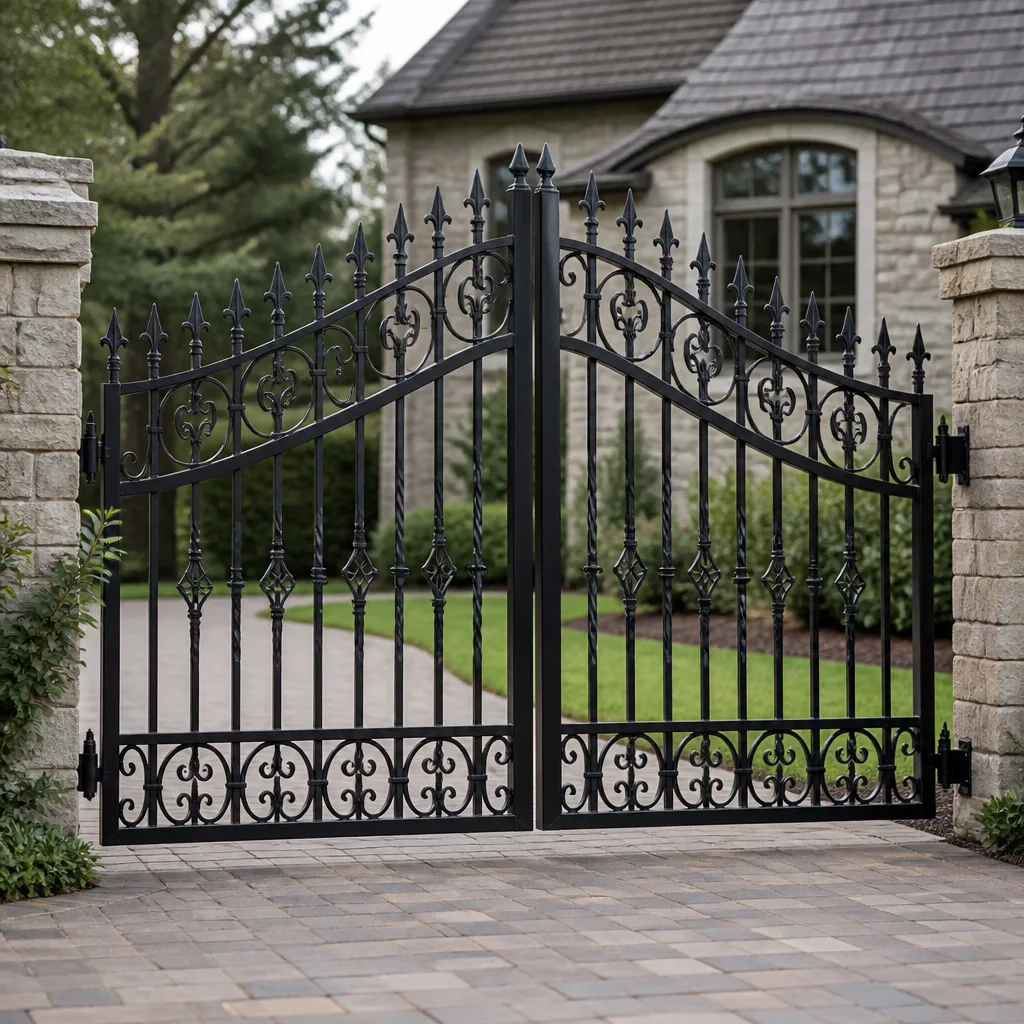 Wrought iron
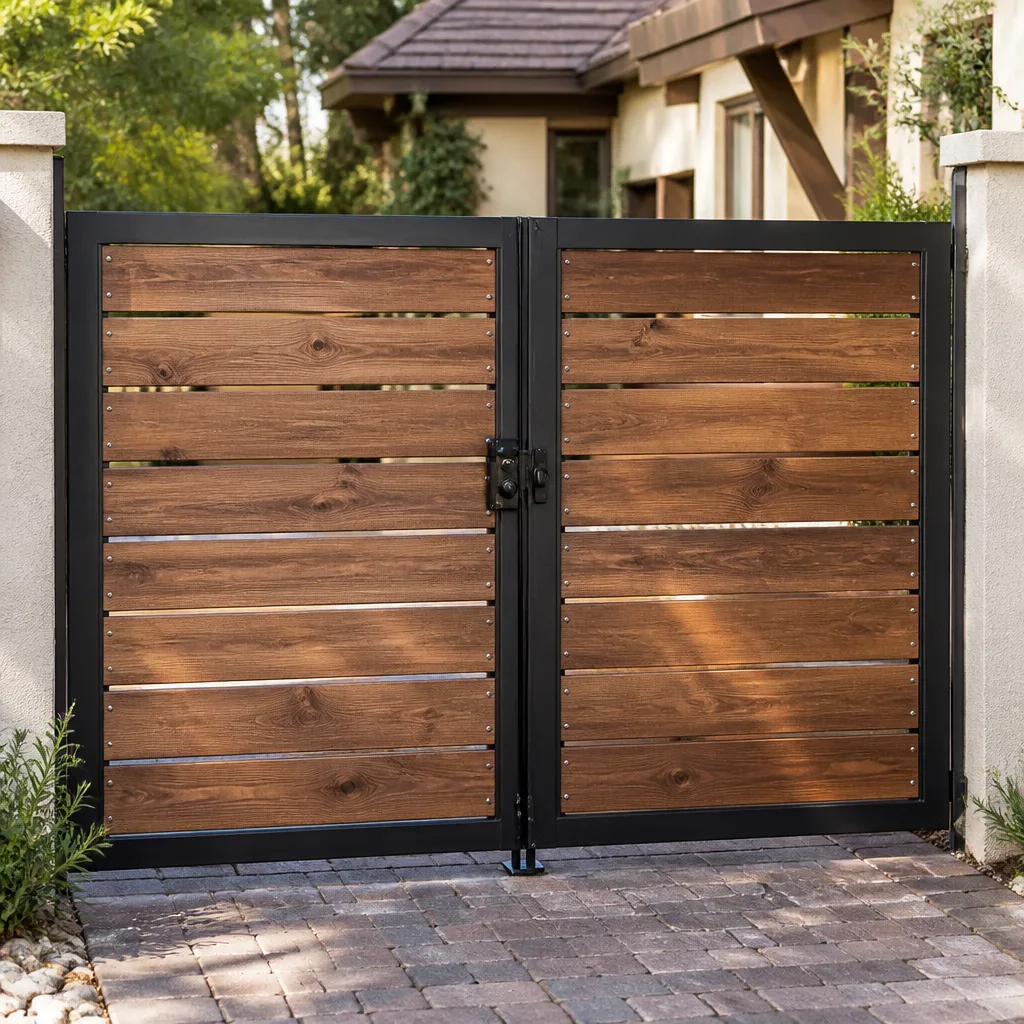 Wood & steel frame
 Farm & ranch
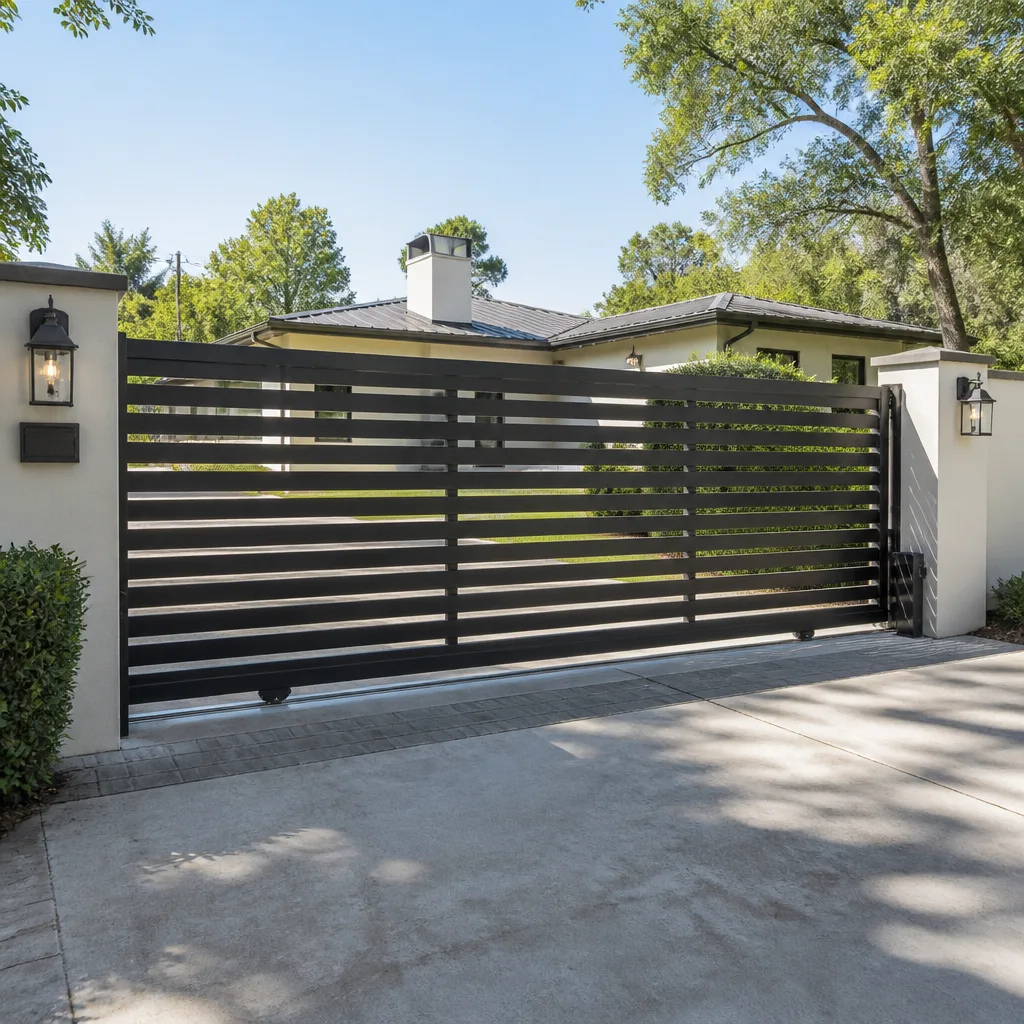 Sliding driveway gates
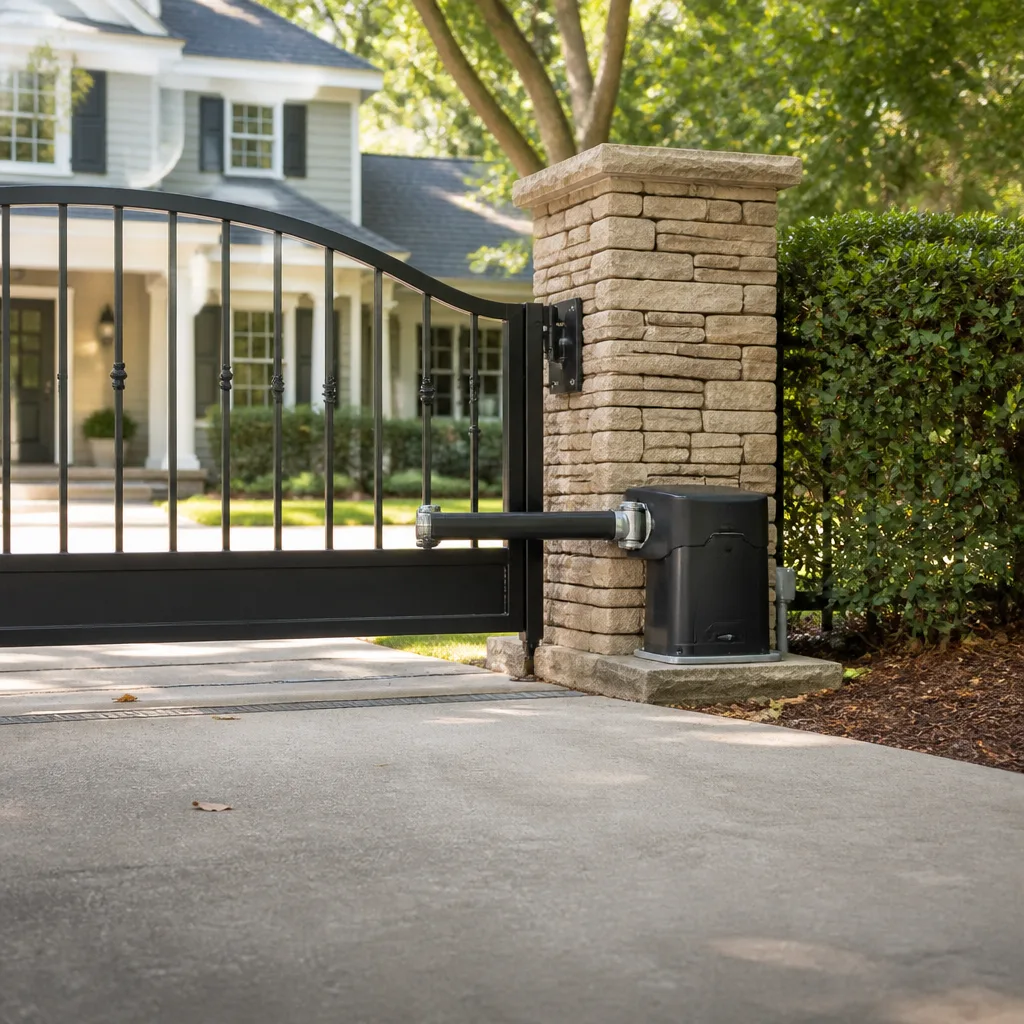 LiftMaster operators
Free on-site gate assessment - hinges, posts, and your LiftMaster or Nice gate operator checked before anything is quoted
The assessment is free and the quote is the invoice.
Get your free estimateDIY vs Professional Gate Repair: The Houston Homeowner’s Decision Guide
Here’s a fact most Houston gate guides won’t tell you: the most expensive gate repair we see isn’t the one that started as a broken spring or a snapped cable. It’s the one that started as a confident Saturday morning. A homeowner watched a YouTube video, grabbed a crescent wrench, and made a small problem into a structural one. The real cost of DIY isn’t the time you spend doing it. It’s the compounding damage you can’t see until the gate fails again, usually at the worst possible moment, often involving a child’s bike, a dog, or a vehicle half through the driveway sensor. This guide explains, from a Houston gate specialist’s perspective, exactly where that line sits between work you should absolutely do yourself and work that belongs in professional hands.
Styles & brands we work with
Quick Answer
Lubricating hinges, replacing remote batteries, and tightening visible bolts are safe DIY gate maintenance tasks. Adjusting operator travel limits, resetting posts in Houston’s clay soil, rewiring control boards, and weld repair are not. The difference isn’t your skill level. It’s the consequences of the failure: a sticky gate annoys you, but a misaligned 400-pound gate moving under motor power can injure a person or pet, and the repair costs from a bad attempt often exceed the original problem. In our experience at Latch and Post Gate Repair Houston, homeowners should DIY the low-consequence maintenance and call a professional for Gate Repair services for anything that moves the gate under power or holds it structurally.
Table of Contents
- The Safe DIY List: What Houston Homeowners Can Actually Fix
- The Professional-Only List: Where DIY Creates Risk
- The Houston Soil Problem: Why DIY Post Resets Fail
- Compound Damage: What a Failed DIY Attempt Really Costs
- The Three Tools You Need for Safe DIY Gate Work
- Warranties, Insurance, and the Documentation Problem
- How a Done Right Promise Protects You After a DIY Attempt
- Common Mistakes to Avoid
- When to Call a Professional
- Frequently Asked Questions
- The Bottom Line
The Safe DIY List: What Houston Homeowners Can Actually Fix
Let’s start with what you should do yourself. Not because we want to seem generous, but because a homeowner who maintains their gate properly calls us less often for preventable failures, and that’s a good thing for everyone. Explore more guides & resources to keep your gate in top shape. The tasks below have a safe failure mode: if you do them imperfectly, the worst outcome is the gate still doesn’t work quite right, and you call us anyway. No one gets hurt, nothing gets more expensive.
Here’s the honest list of DIY-safe gate maintenance in Houston:
- Hinge lubrication: A good silicone-based or white lithium spray on hinge pins and latch mechanisms, done every three to four months, keeps gates moving smoothly. Houston’s humidity means bare steel rusts fast, so this matters more here than in dry climates. This is the single most effective maintenance task a homeowner can do.
- Remote battery replacement: LiftMaster, Linear, Viking, and Ghost Controls remotes all use standard coin-cell or 9-volt batteries. If your remote works only at close range or not at all, the battery is the first check. It’s a two-minute fix.
- Visible bolt tightening: Gate hardware vibrates loose over time, especially on heavier driveway gates in Houston neighborhoods with older concrete driveways that ripple. A torque screwdriver and a socket set can snug hinge bolts and latch plates. Snug, not forced. Overtightening strips threads or bends plates.
- Clearing the gate path: This isn’t repair, exactly, but it prevents it. Houston’s oak trees drop limbs, and our storms move debris. Keeping the track clear for sliding gates and the swing arc clear for swing gates prevents the gate from binding against a branch and burning out the operator motor.
- Sensor lens cleaning: Dust, spider webs, and Houston’s spring pollen coat the photo-eye sensors on automatic gates. A soft cloth and glass cleaner restore function on most operators, including DoorKing and BFT models. If cleaning doesn’t work, the sensor itself may need replacement, and that’s a professional call.
None of these tasks carry meaningful risk, and none require opening the operator housing or touching wiring. That boundary is the most important line in this entire guide: anything requiring the operator cover to come off is professional work. The electronics inside live next to capacitors that hold charge even when the gate is unplugged, and the moving parts can produce hundreds of pounds of force.
The Professional-Only List: Where DIY Creates Risk
This section isn’t about protecting our revenue. It’s about the difference between a failure mode that’s annoying and a failure mode that’s dangerous. A gate weighs between 200 and 800 pounds for most Houston residential properties. When that much steel moves under hydraulic or electromechanical power, the forces involved are comparable to a small vehicle at low speed. The repair work below involves that stored energy or the systems that control it.
1. Operator travel limit adjustment. The travel limit tells the operator where to stop opening and closing. If set too far, the gate closes against its stop with force. If set too close, it never fully latches. A half-inch error on a 1/2-horsepower swing operator produces enough pressure to dent a car door or injure a pet. Most residential gate operators in Houston use force settings between 400 and 700 pounds at the edge of the gate leaf. That’s not something to tune by guesswork while watching a video on your phone. We factory-train on Linear, Viking, Ghost Controls, and DoorKing operators, and even with training, limit adjustment is done with a force gauge, not by feel.
2. Any wiring or control board work. Operators run on 110-volt or 220-volt circuits, often with a separate low-voltage run for the keypad, loop detector, and photo-eyes. Houston’s electrical code requires proper conduit, weatherproof junction boxes, and GFCI protection in exterior locations. A homeowner who splices a gate’s power cable incorrectly can create a ground fault that energizes the gate frame itself. That’s a shock hazard for anyone touching the gate, including kids and pets. This is one of the few areas where we recommend a licensed electrician or a gate specialist with electrical training, never a handyman.
3. Post resetting and replacement. This deserves its own section, because in Houston it’s the single most common DIY repair that fails. But the short version is this: a post that has shifted or rotted at the base cannot be fixed by pouring concrete around it or shimming it level. The footing below the clay line has failed, and you’ll be doing it again after the next long rain.
4. Weld repair on steel gates and hinges. Gate welding requires knowing the difference between ornamental fencing steel and structural steel, matching filler rod to base metal, and managing heat distortion on a moving leaf. A bad weld on a gate hinge looks fine for weeks, then fractures suddenly. We’ve replaced gates in Houston where a homeowner or handyman welded a hinge back on, and the entire leaf dropped onto the driveway three months later because the heat-affected zone cracked. Welding also voids most operator warranties if done near the mount points.
5. Spring and tension adjustment on self-closing gates. Garden gate springs are low-risk. Driveway gate springs and torsion assemblies are not. When a torsion spring under tension lets go, the torque is enough to break bones. This is the same category as garage door springs: the part is cheap, the stored energy is enormous, and the hospital bill makes the professional service call look like a bargain.
The Houston Soil Problem: Why DIY Post Resets Fail
Houston sits on a thick layer of expansive clay known locally as Beaumont clay or gumbo soil. It absorbs water during our wet seasons and swells. It dries during our long summer droughts and shrinks. That seasonal movement is why Houston has more foundation repair companies per capita than almost any city in the country, and it’s the same force that moves gate posts.
Here’s what happens when a homeowner resets a leaning gate post the DIY way. They dig around the existing footing, straighten the post, pour a bag of quick-set concrete into the hole, and call it done. The concrete cures. The gate swings level. It looks fixed. Then the next wet season arrives. Rain saturates the clay below the new concrete, the clay expands and shifts, and the shallow footing moves with it. The post leans again, often worse than before, because the disturbed soil around the repair now drains more water than the surrounding undisturbed clay.
A proper post reset in Houston requires digging to a depth below the active clay layer, which typically means 30 to 36 inches for a 6-foot gate post, and using a concrete footing that’s at least 12 inches in diameter at the base. Some Houston gate installers also add gravel drainage at the base of the hole to reduce water concentration. This isn’t a Saturday project with a post-hole digger from the hardware store. It’s a two-person job with a concrete mixer, a laser level, and a weather window, because the footing needs to set before Houston’s next downpour hits it.
If your gate post is leaning, don’t shim it into alignment with pieces of wood or stacked washers. That buys you a few weeks at most and makes the eventual professional repair more involved, since we have to remove the shims and often re-bed the post entirely. Call us before you touch it. A proper post reset in Houston typically runs $350 to $800 depending on depth, concrete requirements, and whether the existing footing needs to be jackhammered out. The DIY version, with its bag of quick-set, costs about $40 in materials and gets redone every season until the post finally fails completely.
If you’re looking for a full picture of what Gate Repair in Houston involves, we’ve written a detailed breakdown of the most common failure points and what they cost.
Compound Damage: What a Failed DIY Attempt Really Costs
Let’s put dollar figures on the difference between a repair done correctly and a repair attempted, failed, and then done correctly. For a deeper dive, see our Gate Repair Cost Breakdown: The Houston Homeowner’s Reference for 2026. These are real numbers from the Houston gate repair market, not national averages.
Take a gate that’s dragging slightly on one side. The hinge has worn enough that the gate leaf sits a quarter-inch low, and the latch doesn’t line up perfectly. A homeowner sees a quick fix: shim the hinge with a washer, tighten it down, and the gate closes again. Here’s what happens over the next six to twelve months. The shimmed hinge now carries weight unevenly, which accelerates wear at the hinge pin and the mounting plate. The misalignment transfers stress to the operator’s drive arm. The operator motor works harder on every cycle to overcome the added friction. In a year, the hinge has wallowed out its mounting holes, the gate leaf has dropped further, and the operator motor is running hot and drawing more current than it was designed to handle.
The bill at that point: a replacement hinge and plate, often $120 to $200, plus a new operator motor at $450 to $600 installed. Compare that to the original repair: a new hinge installed properly at $150 to $250, with nothing else touched. The failed DIY attempt didn’t save $150. It turned a $200 repair into a $700 repair, and the gate was out of service for most of a year.
We’ve seen the same compounding pattern with operator limit adjustments. A homeowner notices the gate stopping an inch short of the latch, so they adjust the limit screw a quarter-turn. Now it closes fully, but it also presses into the latch with too much force, which bends the latch prong over three months, which then prevents the operator’s release from working, which then strips the drive gear. That’s a $80 latch and a $300 gear replacement instead of the original $120 limit adjustment.
The pattern is visible in all of these stories: the first wrong fix creates a second, larger problem, and the gate continues to operate while the damage accumulates silently. The most expensive repair is never the part that failed first. It’s the part that failed later because the first repair wasn’t actually a repair.
If the gate in question is a driveway gate with an operator, you may also be looking at work covered under Electric Gate Repair in Houston, which involves diagnosing the operator separately from the mechanical gate structure.
The Three Tools You Need for Safe DIY Gate Work
If you’re going to do the safe DIY tasks from our first list, and you should, do them with the right tools. Here’s what you actually need, and none of it is expensive.
- A proper lubricant, not a general-purpose spray. WD-40 is a solvent and water displacer, not a lasting lubricant. For gate hinges and latches, use a white lithium grease spray or a silicone-based lubricant. White lithium holds up better in Houston’s heat without running off, and silicone is safe for plastic bushings and sensor housings. A can costs $7 to $14 and lasts most homeowners two to three years. Apply it, work the hinge back and forth by hand, and wipe the excess. Excess lubricant attracts Houston’s dust, and that dust becomes a grinding paste.
- A digital level with angle readout. This is the tool that tells you whether your gate is actually out of alignment or just settling on uneven ground. A digital level that reads to 0.1 degrees costs $20 to $35. Place it on the top rail of a closed gate to read the current angle. If the gate is more than 2 degrees off level, the problem is structural (a failing post, worn hinge plate, or bent leaf), not a bolt that needs tightening. That’s your signal to stop DIY work and call us.
- A torque screwdriver or small torque wrench. Gate hardware uses a range of torque specs depending on the bolt size and material. A torque screwdriver that ranges from 10 to 50 inch-pounds covers most hinge and latch fasteners and costs $25 to $45. This tool prevents the single most common DIY mistake we see: stripping threads by overtightening. If the spec says 15 inch-pounds, and you tighten to 15 inch-pounds, the bolt holds and the threads survive.
Total investment for all three: under $60, and these tools will serve you on gates, doors, fences, and half the other hardware in a Houston house. Compare that to the cost of a single stripped hinge bolt on a gate that now won’t close securely until we drill it out and re-tap the hole: typically $90 to $150 in labor plus the new hardware.
Warranties, Insurance, and the Documentation Problem
Here’s a section most DIY-versus-professional guides gloss over, and it’s one of the most consequential. When you open the operator housing on a gate yourself and change a setting, you may be voiding the manufacturer’s warranty on that operator. LiftMaster, BFT, FAAC, Linear, Viking, Ghost Controls, DoorKing, Elite, and Mighty Mule all publish installation and service documentation that specifies authorized service. A homeowner who opens the housing and alters wiring or limit settings has, in most cases, voided the warranty on that component.
Then there’s the insurance angle. If your gate closes on a vehicle and causes damage, your homeowners insurance may cover the vehicle repair under property damage liability, but only if the gate was properly maintained and professionally serviced. If your insurance adjuster finds evidence of homeowner wiring modifications or a limit adjustment that wasn’t documented, the claim can be denied on the grounds of unpermitted self-service. We’ve had Houston customers call us after exactly this scenario, and it’s a hard conversation. The repair that saved them $150 became a denied claim.
This matters more in Houston than in some other cities because our gates see heavy use year-round. In neighborhoods inside the Beltway, lots are smaller, gates are closer to the street and sidewalk, and the liability exposure from a malfunctioning gate is higher. A gate that fails in a rural county may damage nothing but a fence post. A gate that fails in West University or The Heights may strike a parked car, a pedestrian, or a cyclist. The liability math is different.
Documentation is the quiet advantage of professional repair. When we service an automatic gate at Latch and Post Gate Repair Houston, the job includes a written record of what was inspected, what was adjusted, and what the measurements were. That record matters if you ever need to make an insurance claim or if you sell the home and the buyer asks about the gate.
How a Done Right Promise Protects You After a DIY Attempt
We know how the phone call usually goes, because we get it at least once a week. A Houston homeowner starts a gate repair, gets partway through, realizes the problem is bigger than the video suggested, and calls us with a combination of embarrassment and frustration. They’ve spent a Saturday, bought parts, made changes, and the gate still doesn’t work, or it works worse than before.
Here’s what happens when you call us in that situation. We send a background-checked, uniformed technician who follows the Cedarwell C.A.R.E. values on every visit: clean up like it’s our own home, ask before we move or touch anything, respect the family’s time and quiet hours, and explain the price before the work. The technician evaluates the gate as it sits now, including whatever was changed during the DIY attempt, and we give you a written price to put it right. That price is set before any work starts, and you can decline it with no obligation.
The 365-Day Done Right Promise is what makes that phone call easier. It says this: if the repair or installation we do isn’t right, Latch and Post makes it right. No argument, no fine print, for a full year. That promise covers the repair we do to undo your DIY attempt and fix the underlying problem. If something we touched fails within the year, we return and fix it. That’s not a warranty buried in a manual. It’s a promise we’ve stood behind since 2009 as part of the Cedarwell family of independently owned and operated gate specialists.
We don’t judge the DIY attempt, by the way. We’ve seen every version of it, from the careful engineer who did everything right except the one thing YouTube didn’t mention, to the hurried weekend job that made things worse. Our job isn’t to critique your work. It’s to get your gate functioning safely and leave your property cleaner than we found it. If you want to watch and learn what we’re doing, most of our technicians are happy to explain it while they work.
If the project has escalated past repair and into replacement territory, Gate Installation in Houston covers what a new gate installation from us includes and what it costs.
Common Mistakes to Avoid
- Using WD-40 instead of a real lubricant. WD-40 cleans and displaces moisture, then evaporates. Hinges lubricated with it run dry again within weeks and wear faster. In Houston’s humidity, bare hinge pins then rust. Use white lithium or silicone.
- Shimming a leaning post instead of resetting it. Wood shims, washers, and folded metal under a post base compress and shift under gate weight. The gate goes out of level again within weeks, and the shim materials hold water against the post foot, accelerating rot in wood posts and corrosion in steel ones. The clay soil beneath Houston homes is moving every season, and a shimmed post has no footing to resist it.
- Adjusting limit screws by guesswork. A quarter-turn too far on a Viking or Ghost Controls operator translates to inches of extra travel at the gate edge, and inches translate to hundreds of pounds of pressure. Without a force gauge, you cannot know what that adjustment actually did. We adjust travel limits with measurement, not feel.
- Ignoring the photo-eye sensors when the gate reverses for no reason. Houston’s afternoon sun angle, morning dew, and spring pollen all interfere with optical sensors. Before you assume the operator is broken, clean the sensor lenses with a soft cloth. A surprising number of “operator failures” are just dirty sensors.
- Replacing a remote before checking the battery and the programming. Remotes fail from dead batteries and lost programming far more often than from internal component failure. Check the battery first, then check whether the remote still needs to be re-paired with the operator. Those two steps solve most remote problems without buying a $60 replacement that doesn’t fix anything.
- Welding on a gate that’s still attached to the operator. Weld current can travel through the gate frame into the operator’s control board and fry the electronics. Any welding on a gate must be done with the operator disconnected, the gate grounded, and the work planned around heat distortion. This is one repair where the “just one more thing” instinct genuinely gets people hurt.
- Pouring concrete over a rotten post base. If a wood post is rotting at ground level, encasing the bottom in new concrete doesn’t stop the rot; it traps moisture against the wood and accelerates it. The post needs to be pulled, the rot assessed, and if salvageable, treated and re-set in a proper footing. Otherwise, replace it.
When to Call a Professional
Call us if your gate has shifted more than 2 degrees off level, if it’s grinding rather than gliding, if the operator runs but the gate doesn’t move, if you see exposed wiring anywhere on the gate or operator, if the post wobbles when you push on the gate, or if you’ve already attempted a repair and the gate isn’t working correctly. Each of those signs means the problem is structural or electrical, and both categories carry risk for the gate, the operator, and the people around it. Latch and Post Gate Repair Houston offers free estimates across Houston, and every call is answered by a live person at (361) 256-5955, 24 hours a day, 7 days a week. No voicemail, no callback queue.
Frequently Asked Questions
Most standard gate repairs in Houston run between $120 and $700, depending on what failed and where. A hinge replacement runs $150 to $250, a latch replacement $80 to $180, an operator limit adjustment $100 to $160, and a full post reset $350 to $800. Electric gate operator repairs, including control board replacement, range from $200 to $900 depending on the brand and model. You’ll see the exact price in writing before any work starts. Call (361) 256-5955 for a free estimate specific to your gate.
We recommend against it. Travel limit adjustment requires a force gauge to verify that the gate stops with safe pressure, and a misadjusted limit can cause the gate to close on a vehicle, a pet, or a person. The settings on Linear, Viking, Ghost Controls, and DoorKing operators vary by model, and changing them without the right measurement equipment is a leading cause of operator motor failure we see in Houston. This is one adjustment where the cost of getting it wrong exceeds the savings of doing it yourself.
Lubricating hinges with white lithium or silicone spray, replacing remote batteries, tightening visible bolts to proper torque, cleaning photo-eye sensor lenses, and clearing debris from the gate track are all safe DIY tasks with no meaningful risk. For a complete schedule of these tasks, see our Gate Repair Maintenance Checklist for Houston Homeowners. The common thread is that none of these tasks involve opening the operator housing, touching wiring, or working on parts under tension. The gate maintenance tasks with safe failure modes are the only tasks you should do yourself.
Houston’s expansive clay soil swells when wet and shrinks when dry, creating seasonal ground movement that shifts shallow post footings. A post set in a footing that doesn’t extend below the active clay layer will move within one or two wet-dry cycles. That’s why DIY post resets that use a shallow bag of quick-set concrete almost always fail again after the next heavy rain. A proper footing in Houston reaches 30 to 36 inches deep and is wide enough at the base to resist that seasonal movement.
In most cases, yes. LiftMaster, BFT, FAAC, Linear, Viking, Ghost Controls, DoorKing, Elite, and Mighty Mule all include terms in their warranty documentation that specify authorized service for wiring and setting changes. Opening the operator housing and altering wiring or limit settings typically voids the warranty on that component. If the operator fails later and the warranty was voided, you’re paying full price for a replacement that would have been covered.
Our 365-Day Done Right Promise covers every repair and installation Latch and Post Gate Repair Houston performs. If the work isn’t done right, we make it right, with no argument and no fine print, for a full year after the service date. That includes repairs where we have to undo a previous DIY attempt before fixing the underlying problem. The promise is the same on every job we’ve done since 2009 as part of the Cedarwell family of independent gate specialists.
The Bottom Line
The DIY-versus-professional question for Houston gate repair comes down to consequence, not competence. If the job has a safe failure mode and requires no electrical or structural work, do it yourself with the right tools and keep your gate maintained. If the job involves the operator, the wiring, the springs, the welds, or a post that has shifted in Houston’s clay, your money is better spent on a professional repair that lasts than on a DIY attempt that compounds. Every gate is a latch and a post at heart, and both fail eventually. When yours does, you want the first fix to be the last one. Latch and Post Gate Repair Houston home is one click or one call away at (361) 256-5955, and a live person picks up every time.
Written by Cody Beckman, Owner at Latch and Post Gate Repair Houston, serving Houston since 2009.
See the difference
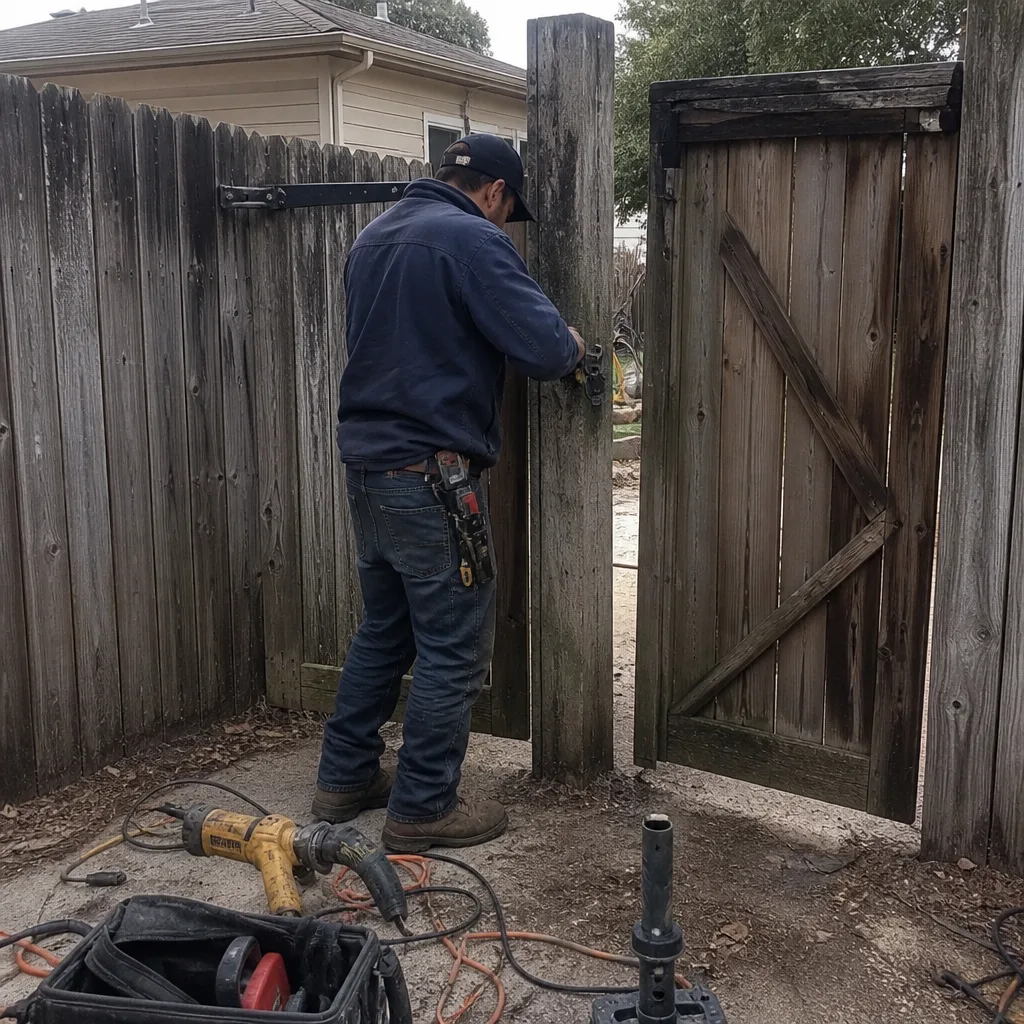 Before
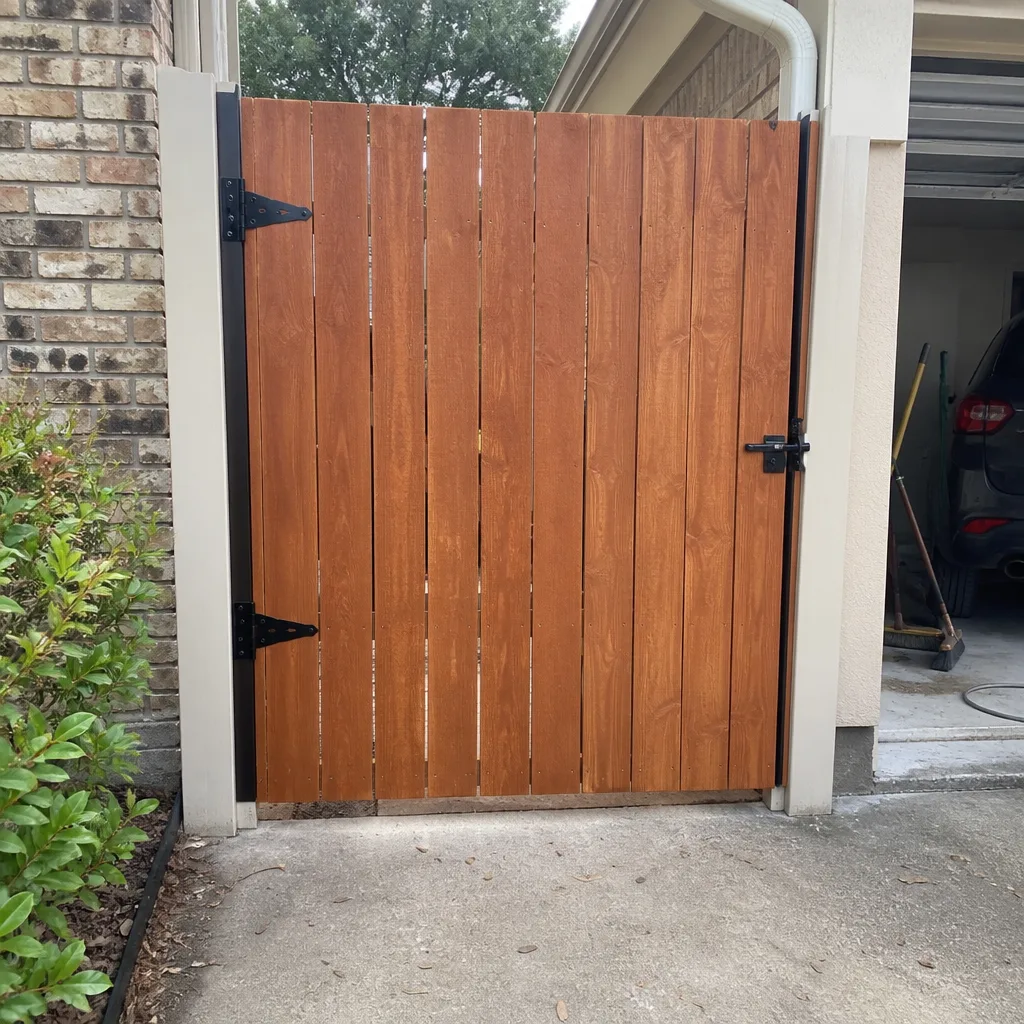 After
After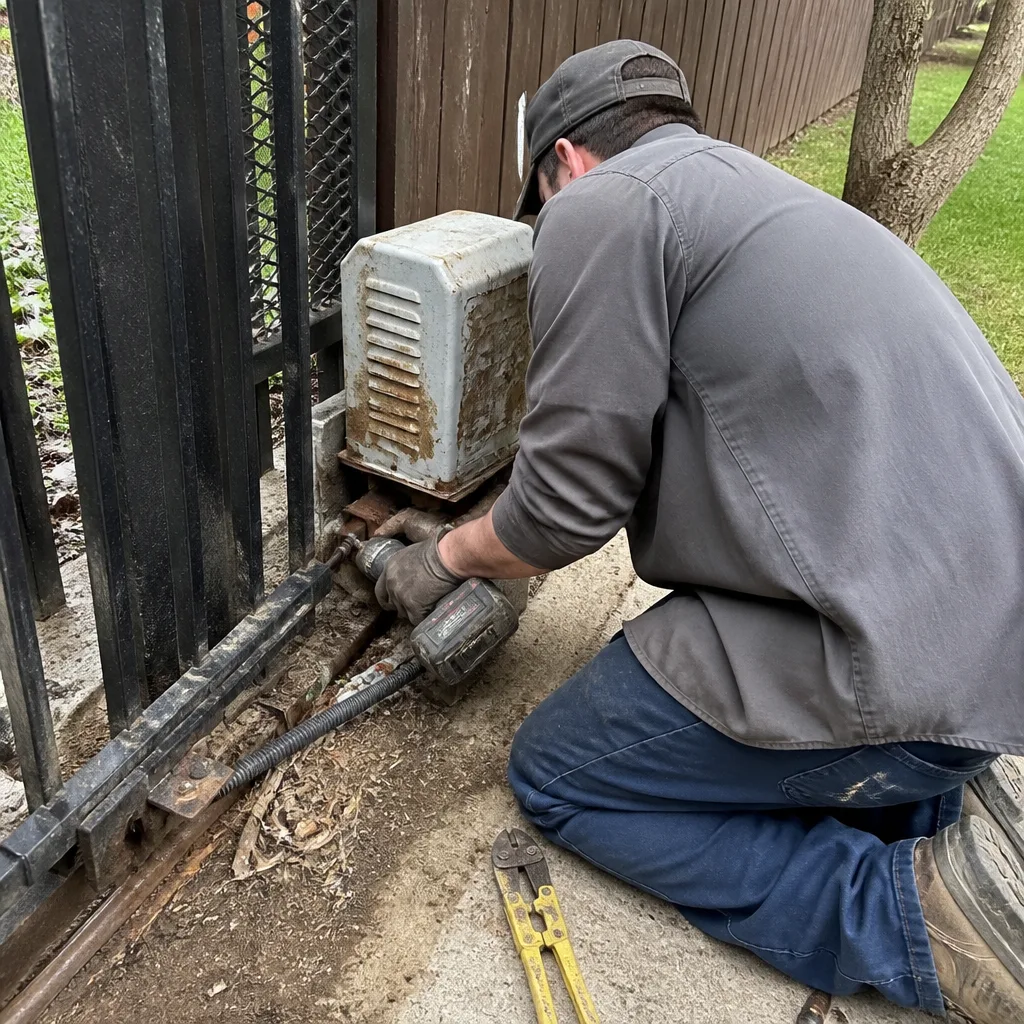 Before
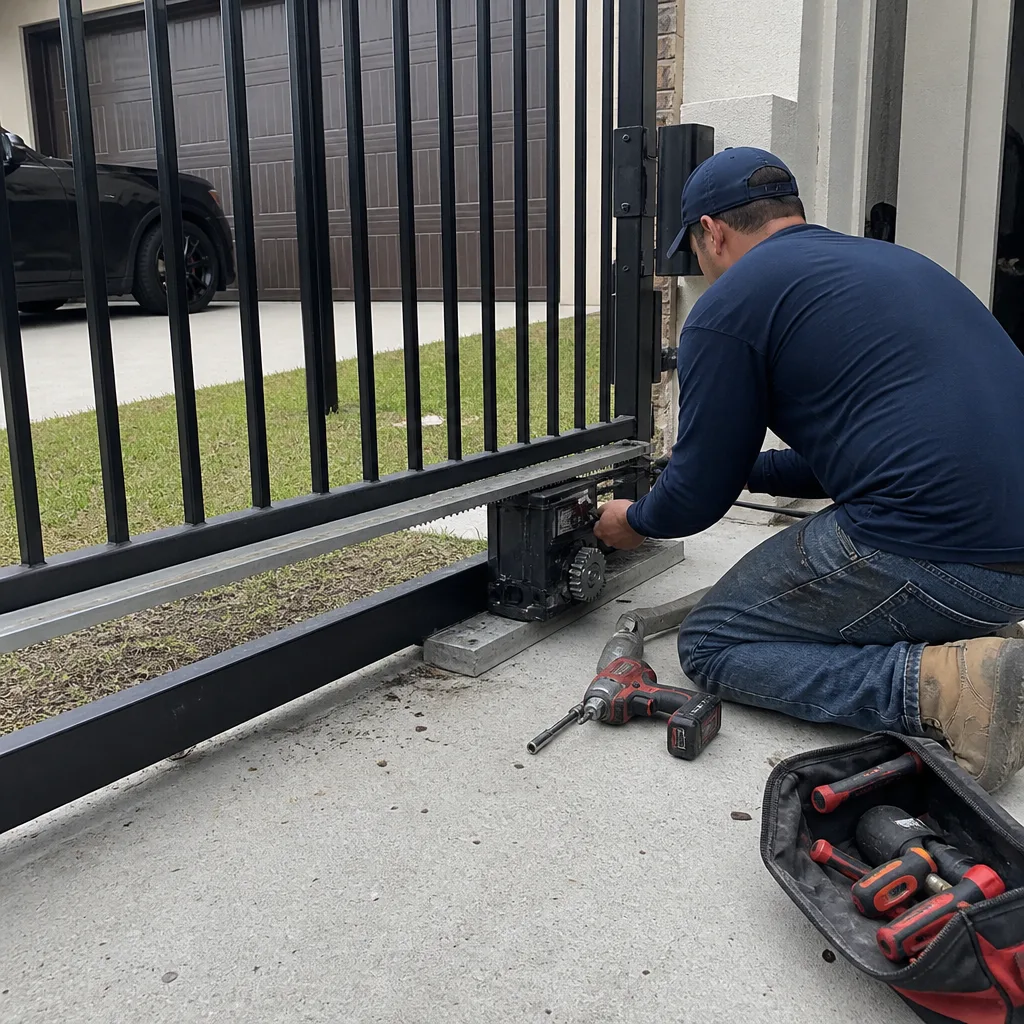 After
After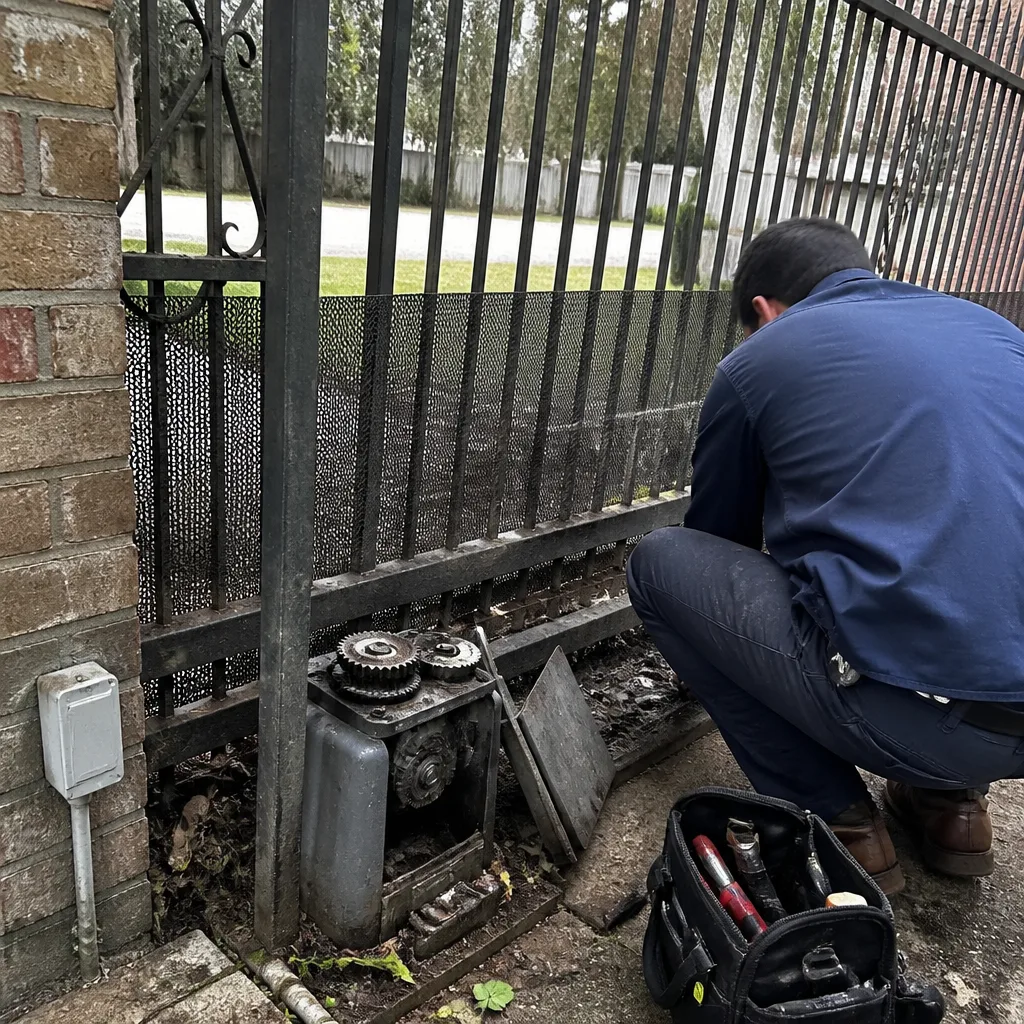 Before
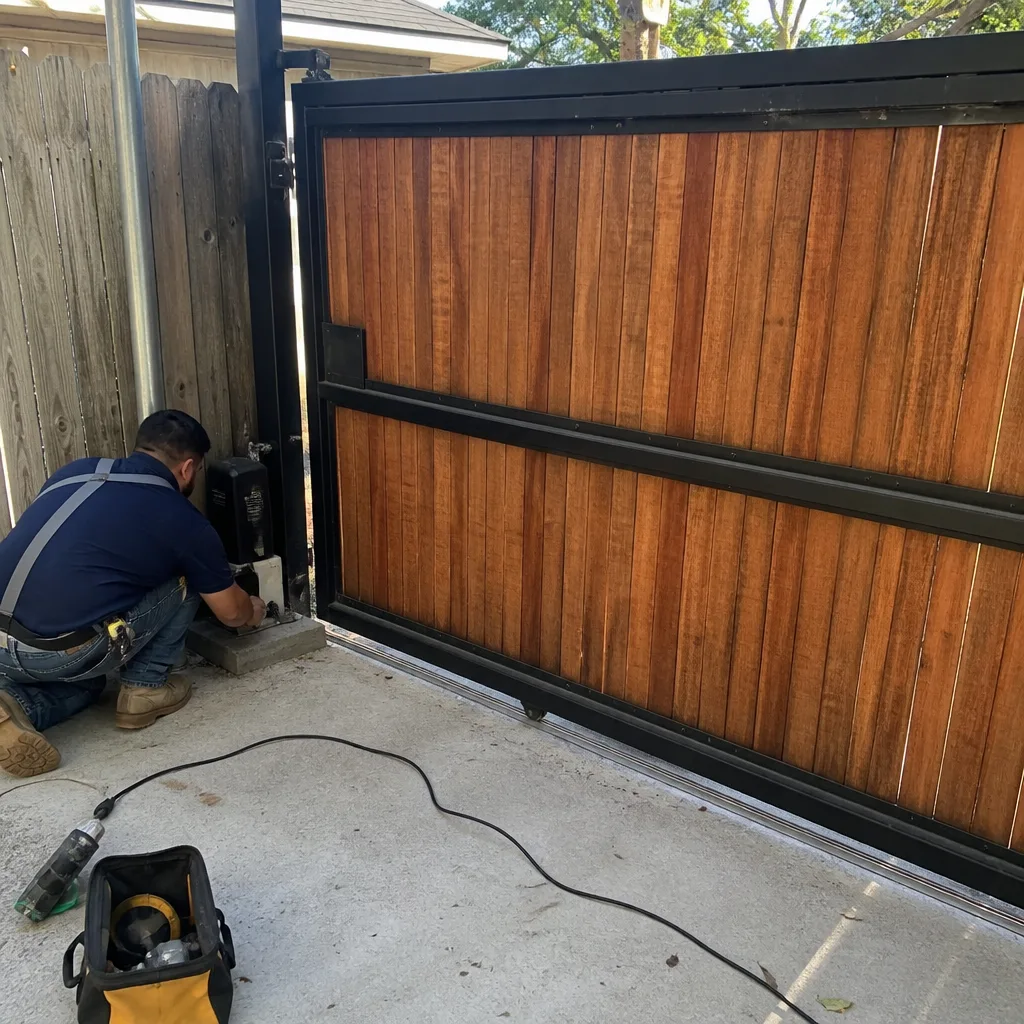 After
After